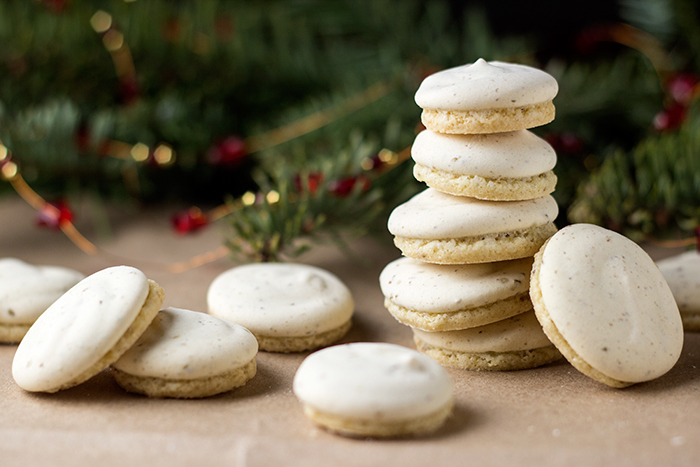
Every year for Christmas when I was young we would get a big package sent over from Germany by my Oma and Opa. Thinking back on it now and how many kids and grandkids they had overseas, this couldn’t have been cheap. Within that big box, amid all the wrapped gifts and hand knitted sweaters, there was always a large tin filled with homemade Christmas cookies. This was the highlight of the whole box. There were so many cookies I loved that if I named them all we’d be here for awhile. For this post, however, I want to focus on Oma’s Anisplätzchen, or anise drop cookies.
As a kid, I wasn’t a huge fan of anise drop cookies because they reminded me of black licorice. As we grow up, tastes change and I love them now. If you’re not a fan of black licorice, worry not because neither are we in my household. I have tried these cookies out on several folks that don’t black licorice and got a thumbs up from everyone. The anise flavour is here is light and delicate. It’s definitely not overpowering. Plus, my addition of vanilla mellows it even more.
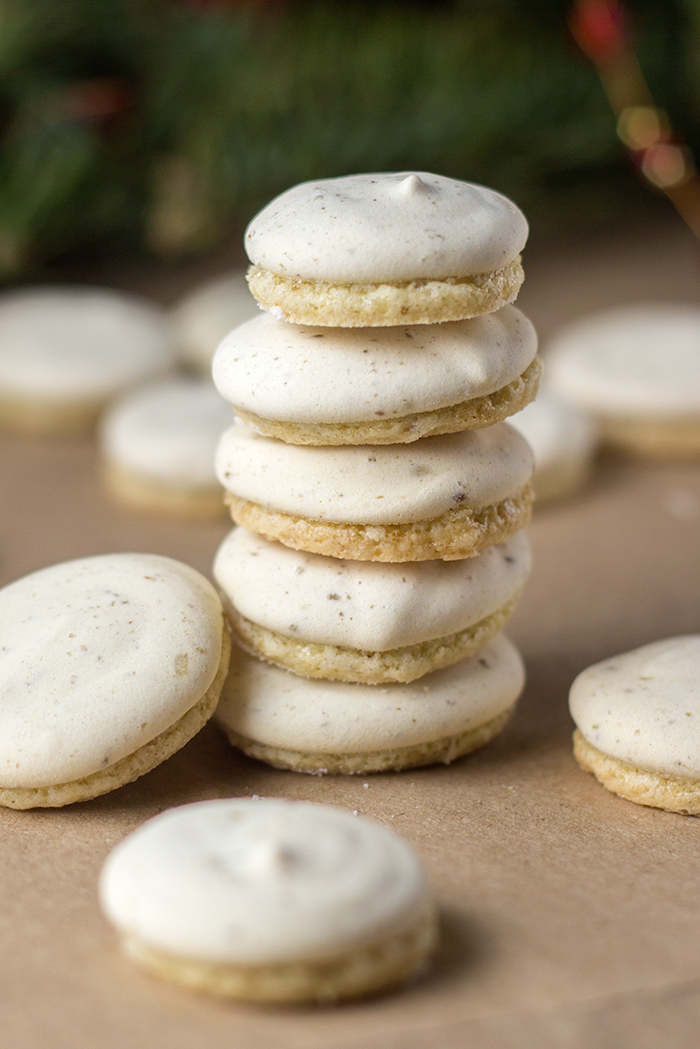
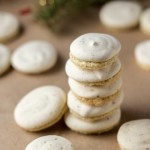
While there are several versions of anise drop cookies that I tried, I ended up loving one from Canadian Living magazine the best. I’ve adapted it slightly to suit our tastes with a little extra vanilla. The true marker of success with anise drop cookies is whether or not they develop “feet” or Füsschen. Basically, during the resting, or aging, period a portion of the egg whites and sugar rises to creating a bit of a meringue-like top layer. It makes these cookies very light and crispy but still slightly soft on the inside. In some recipes, they call this “self frosting”. This separation of top (Haubchen) and bottom (Füsschen) won’t be evident until they’ve baked, so don’t worry that you’re somehow doing it wrong if you don’t see it happen while they rest.
Vanilla Anise Drop Cookies
(Anisplätzchen)
Ingredients:
- 1 cup of All Purpose Flour
- 1 1/4 cups of Powdered Sugar
- 2 teaspoons of Vanilla Sugar
- 2 Room Temperature Eggs
- 1/2 teaspoon of Baking Powder
- 1/4 teaspoon of Salt
- 3 teaspoons of Ground Anise Seed
I’m calling these Vanilla Anise Drop Cookies because they have more vanilla than your average German Anisplätzchen. It’s not unheard of to have a packet of vanilla sugar in a recipe for these cookies. There’s also a version of these drop cookies out there called Vanilleplätzchen that uses just vanilla sugar. I guess I just combined the two, didn’t I?
The extra addition of the vanilla mellows out the anise beautifully. If you’re looking for a more tradition taste to these, just omit the vanilla sugar and reduce the ground anise by 1/4 or 1/2 teaspoon. Or, you can keep it at 3 if you really like lots of anise! I can’t be the only one that likes a bit of a punch in flavour.
Since I wasn’t able to find any ground anise seed at any grocery store so I just ground my own with a mortar and pestal. Really didn’t take that long as I didn’t bother getting it perfectly ground. Sure did make my tiny kitchen smell great.
Lastly, be sure to use a greased (I used butter) and floured baking sheet and skip using baking spray or parchment paper. With this you should get little “feet” on your cookies too. Of course, we all know different climates produce different results with baking, but that’s what worked for me in the rainy Northwest!
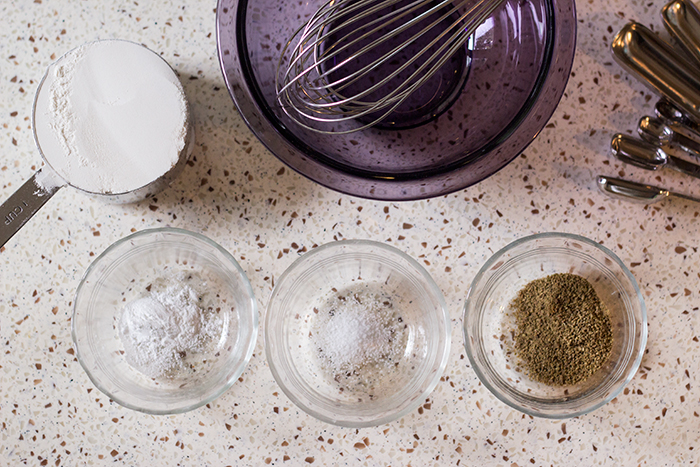
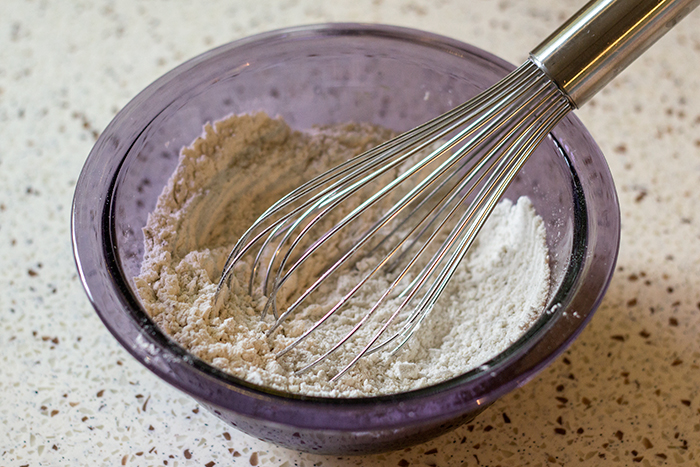
First things first. Whisk the flour, salt, baking powder and ground anise seed together and set it aside until later.
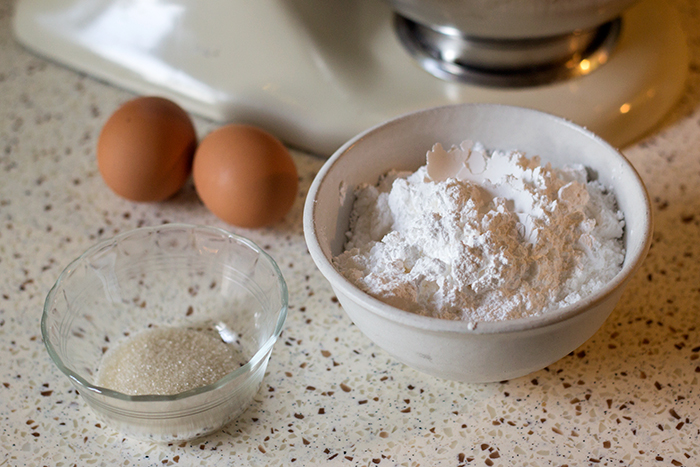
One thing that really helps this recipe is to have room temperature eggs. I take mine out in the morning if I’m planning on baking early that afternoon.
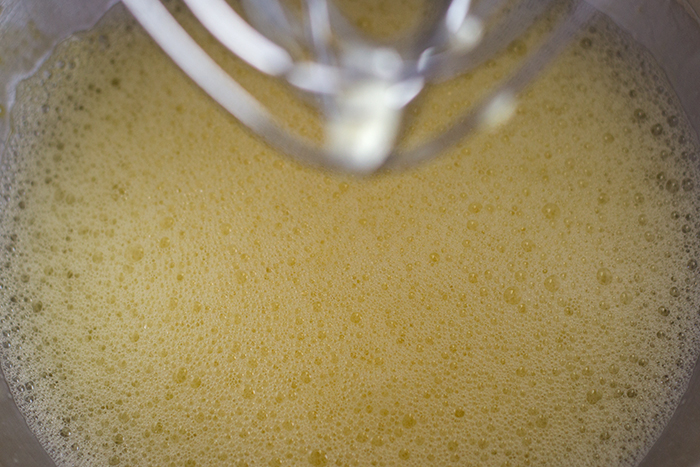
When you’ve got your not-cold eggs, crack ’em both into the bowl of a stand mixer. Beat on medium for 2 minutes until nice and frothy.
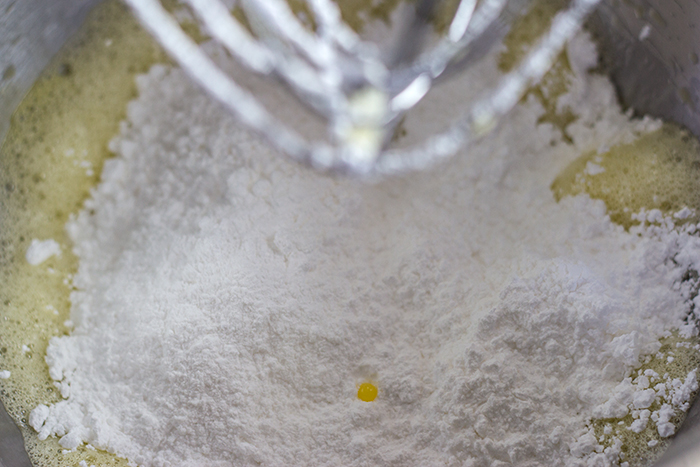
Next, stop the mixer and sprinkle (or add in a tablespoon at a time) the powdered sugar over the frothy eggs.
I start the mixer out low so I don’t end up “floofing” the powdered sugar in the air. Not a fan of breathing powdered sugar. Or flour, for that matter.
After a few turns it’ll be past floofing stage and beat on medium for 2 minutes.
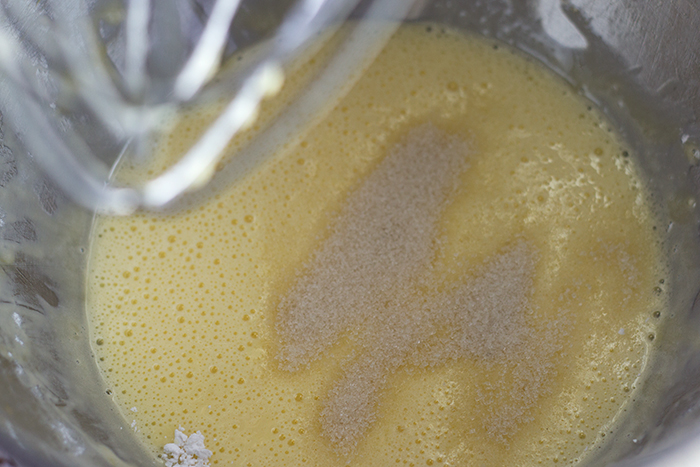
Sprinkle in the vanilla sugar and beat for total of 15 minutes.
Yup, just let your stand mixer mix away. Now is the perfect time to grease and flour the baking sheets, grab a cup of coffee and check out what your friends are doing on Facebook.
I tried out a version that had me beat my mix for 40 minutes. I wasn’t sure my old kitchen aid would handle being on medium for that long but worked out just fine. It’s a trooper.
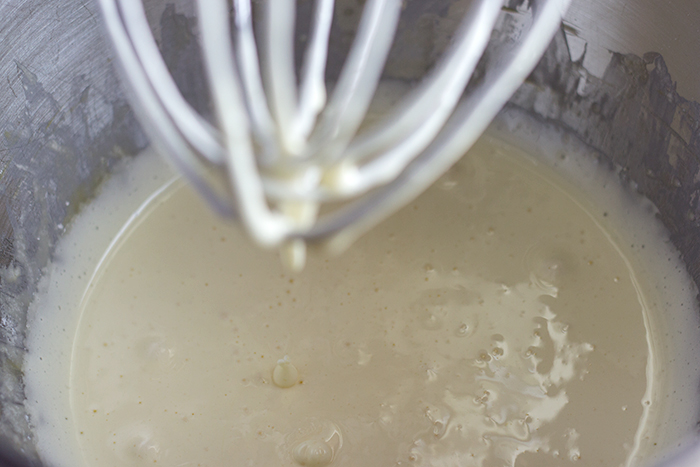
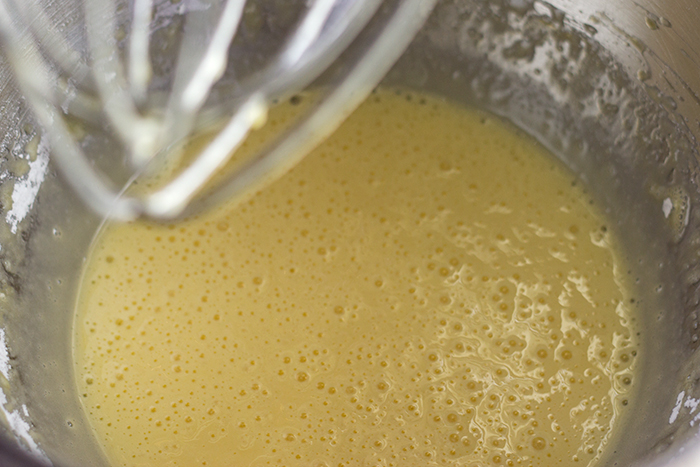
At this point, the mixture should have moved past yellow and become a nice cream colour.
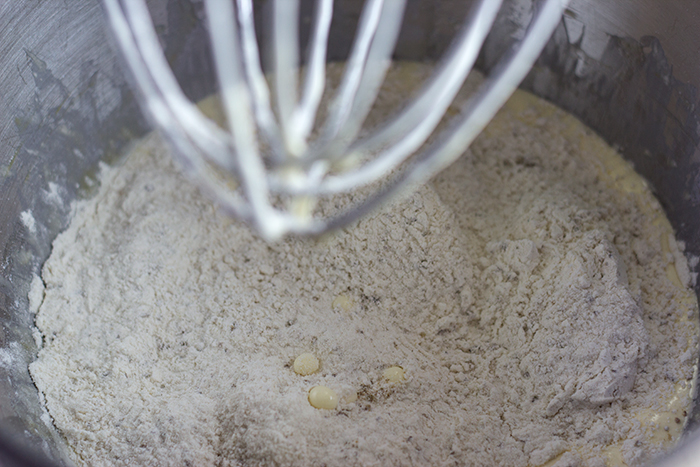
Sprinkle in the whisked flour mixture and start out slow again to pass the floofing stage. Beat on low for 1 minute.
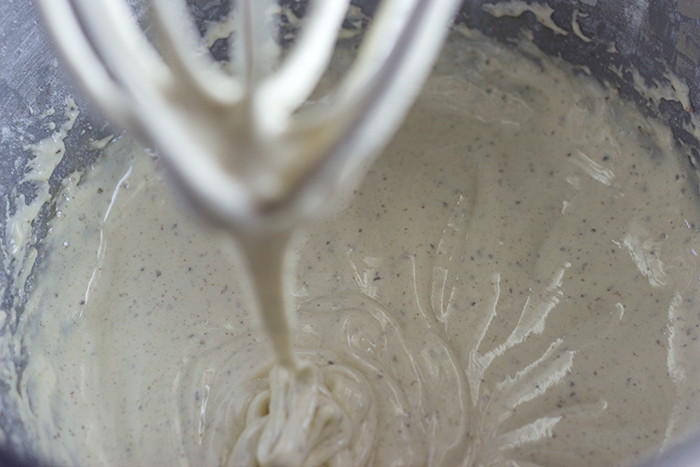
The easy part is over and now we start spooning the dough, which should quite thick, onto the prepared baking sheets. You can do this with either two small spoons or a piping bag with a wide tip. Both present they’re own unique set of challenges unless you’re skilled with either. I am not, so my cookies don’t turn out picture perfect. Hey, it’s the inside that counts, right, and these taste darn good.
- If using spoons, scoop out large walnut sized pieces of dough and carefully place them onto the baking sheets.
- If using a piping bag (just tried out a makeshift one using a large ziplock bag for this post per my husband’s suggestion), try to get them about silver dollar size (1.5 – 2 inches). I made them smaller here since it was my first time using a piping bag and that’s okay too. Just bake them a minute or 2 less.
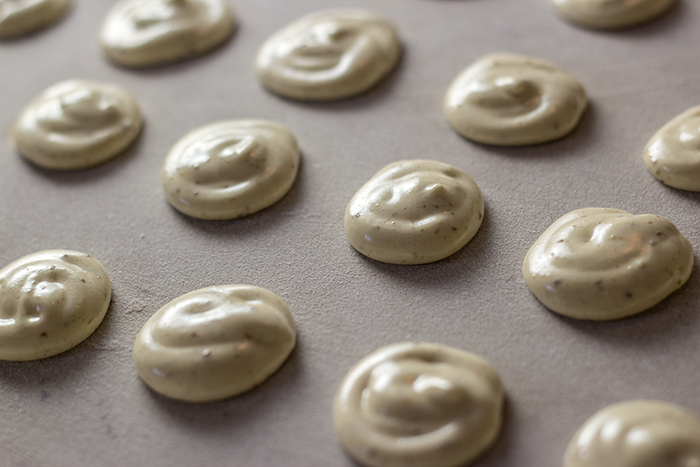
Within a few minutes, the tops should start flattening out.
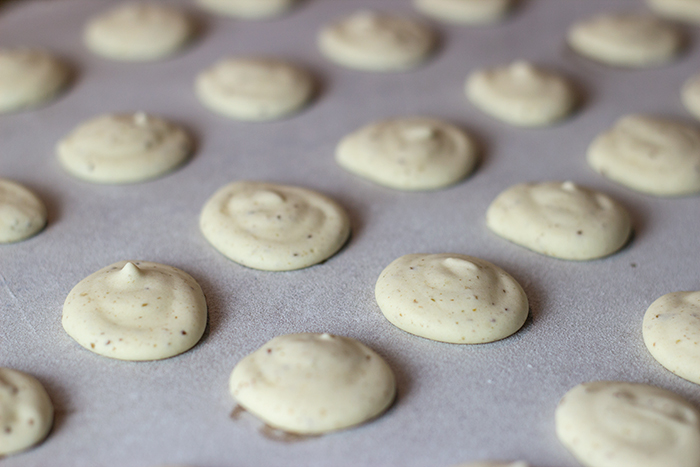
Set the baking sheets aside some place warm and dry. Let them rest for 4 hours. As they age, they will harden up.
Once they’ve had their beauty rest, bake them in the oven at 300 degrees for 15 – 17 minutes, depending on how large your are. I baked these for 15.
You can double rack them if you ended up with two baking sheets. It hasn’t made a difference for me if they’re in the middle rack or on the bottom rack.
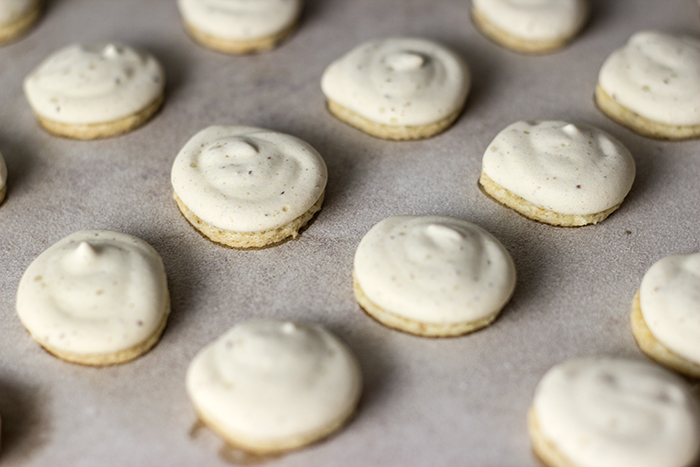
And, success! We have “feet!”
Let the cookies cool on the baking sheets for 5 minutes.
Gently remove them with a metal spatula and transfer to a wire rack to cool the rest of the way.
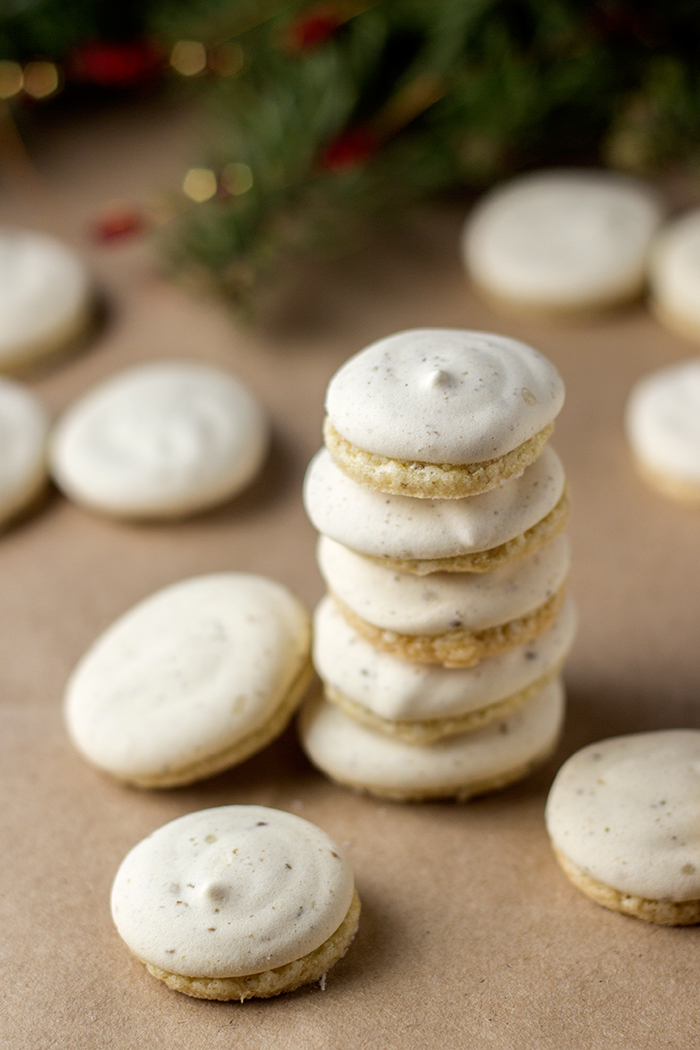
Now they’re ready to eat!
There you have my vanilla anise drop cookie recipe. They’re not quite like my Oma’s but making these made me think of her and what it would have been like in her kitchen while she made Christmas cookies for all of us. <3
Frohe Weihnachten, Merry Christmas and Happy Holidays to you and yours!

und Alles Liebe,
Diony
PS. What you’re favourite Holiday or Christmas cookie memory?
Vanilla Anise Drop Cookies
Ingredients
- 1 cup of All Purpose Flour
- 1 1/4 cups of Powdered Sugar
- 2 teaspoons of Vanilla Sugar
- 2 Room Temperature Eggs
- 1/2 teaspoon of Baking Powder
- 1/4 teaspoon of Salt
- 3 teaspoons of Ground Anise Seed
Instructions
-
Whisk the flour, salt, baking powder and ground anise seed together. Set it aside for later.
-
Beat 2 room temperature eggs on medium for 1 minute until nice and frothy. Sprinkle in the powdered sugar over the eggs and beat for 2 minutes. Add the vanilla sugar and beat for total of 15 minutes. Mixture will become cream coloured. Sprinkle in the whisked flour mixture and beat on low for 1 minute.
-
Spoon or pipe dough onto the greased and floured baking sheets. If using spoons, scoop out large walnut sized pieces of dough and carefully place them onto the baking sheets.
-
If using a piping bag, try to get them about 1.5 to 2 inches in diameter. Within a few minutes, the tops will flattening.
-
Set the baking sheets aside someplace warm and dry. Let them rest for 4 hours. As they age, they will harden up.
-
Bake at 300 degrees for 15 - 17 minutes, depending on how large they are. Let the cookies cool on the baking sheets for 5 minutes. Gently remove them with a metal spatula and transfer to a wire rack to cool the rest of the way.
Recipe Notes
If you’re looking for a more tradition taste to these, just omit the vanilla sugar and reduce the ground anise by 1/4 or 1/2 teaspoon.
Be sure to use a greased (I used butter) and floured baking sheet and skip using baking spray or parchment paper. With this you should get little “feet” on your cookies.
Double rack them if you ended up with two baking sheets. It doesn't seem to make a difference if they're in the middle rack or on the bottom rack.
Adapted from Canadian Living
These were so good! Not too heavy on the anise, which I loved!
Oh, good. I’m so glad! Thanks for dropping by with the comment to let me know!
How many cookies does this recipe make?
That is an excellent question. Something I didn’t think to include because I never pay attention to how many cookies something makes. Went through my photos, as I haven’t made them this year yet, and I’m counting approximately 45 – 50, give or takes a few. A lot depends on how big you make them. Mine were on the small size. Hope this helps.
Next time I make these I’ll be sure to get a proper count!
Ugh! Mine didn’t separate. Why? Thanks
Hi Regina! I’m not quite sure why they didn’t get their little feet. I’d need a little more info. They definitely have to rest the full amount of time.
I know it’s a late reply from me but feel free to contact me again so we can try to figure it out!
A great big THANK YOU and Merry Christmas for this recipe. They are exactly like those elusive cookies my mother remembers her German neighbor making for her in the 1940s! You and I made a lovely older lady’s Christmas special today!
I’m so glad!! One of the best compliments I’ve ever received. Thank you!
Thank you for this great cookie recipe. My Oma used to send them in our Christmas package from Germany.
I wanted to make them for my mom, Helga. Due to Covid we won’t be together this Christmas.
She is 86 and I thought these would make her think of home.
Well, I didn’t get feet but she LOVED them any way.
I will try again but even without the little feet, they taste great.
These were FANTASTIC. I was a little bummed out that I did not get feet, now sure why as I did everything exactly as written including timing everything so I didn’t overmix but either way they tasted great and we loved them! They were crispy and chewy all at the same time and had a Wonderful flavor! Thank you!
For the foot-less plaetchen – these cookies are super humidity-sensitive. I usually use the freshest eggs I can find, and make sure they are room-temperature before I begin. I rest them overnight in the oven (cats, you know) and I find that if it’s a rainy day, the 8-hour rest needs to be a 10 or even a 12-hour rest.
Whatever you do, don’t use gluten-free flour. LOL I tried it as an experiment and while the cookies were nice and crisp, they did not “feet” up no matter what I did.
This is an excellent recipe, and one that I use every Christmas!
If you’re omitting vanilla sugar (because you don’t have any) do you replace it with regular sugar? Can you add a couple of drops of vanilla extract instead?
I would just replace it with regular sugar. Adding vanilla extract would change the colour and possibly the texture since it’s adding moisture. These cookies are a delicate balance.
Love it! So delicious even I didn’t get feet or separation on my cookies I really love the flavor. I baked yesterday my first try for Christmas time. It s coming soon! Thank you!
My dad remembers his Oma making these at Christmas and asked me to see if I could find a recipe. First go around and he says they weren’t as “anise-y” as he remembered. So I added more ground anise. Still not enough for him. I finally found anise oil and anise extract at a specialty store. The anise oil did the trick. But as I was letting the kitchen-aid do the work all I could think of was my great-grandmother beating this mixture by hand or with one of those manual egg beaters. I would have made them once and then said never again!