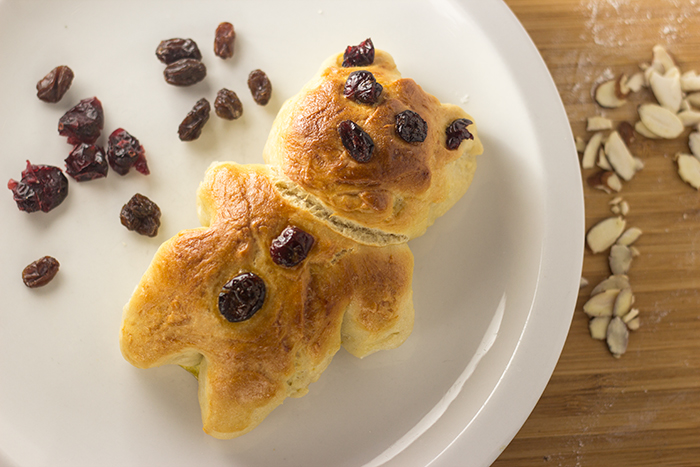
At this time of year it’s common for little, sweet yeast dough men to pop up in bakeries and home kitchens in different parts of Germany. It’s a tradition that’s been around for centuries during the Advent season, particularly around Martinstag (St. Martin’s Day) on November 11th and Nikolaustag (St. Nicholas Day) on December 6th. They’re known as Weckmänner (or bun men), Stutenkerle (yeast dough guy) or sometimes Martinsmänner for St. Martin’s Day and Klausenmänner for St. Nicholas Day. There are many variations and/or regional versions of the names that I won’t bother going into because I’d be here awhile if I did.
History of the Weckmann
The holiday use of these little bread men or animals comes from Gebildbrot, or “Image Bread”, which is a mixture of Christian and pre-Christian ideas. They are steeped in local mythology, meaning and tradition that varies from region to region. While the ones I’m talking about here are German, there are versions of Gebildbrot created for holidays in the Netherlands, Switzerland and Austria.
Some of what I researched suggested that these were originally used as offerings in pre-Christian times. When they were converted to Christian ideals, they were created in the shapes meaningful to particular holidays and thought to symbolize wishes or vows. I know there is much more information out there, but I’d have to comb through it with a more historian-oriented mind. For now, let’s get to baking, eating and celebrating.
My Experience with Weckmänner
I’ll be honest, in the Franconian area of Germany, these aren’t really a thing, so it’s not something I grew up with on holidays. However, I am aware of them and have always wanted to try making them. So, this year, that’s what I did.
I kind of threw tradition out the window a little and made whatever shape I wanted. Through for St. Martin’s Day they’re typically a man with clay pipe, though a goose is appropriate as well. For St. Nicholas Day, we also have a man shapes (think gingerbread man or santa claus shapes) or Krampus (depending on where you’re from).
They aren’t really meant to be that sweet, as sweet for these really means more “not salty” as opposed to sweetened as a dessert. Therefore, I adjusted the recipe to add more sugar, some vanilla and more lemon zest to suit my personal tastes. The original recipe comes from a book, Best of German Cooking by Edda Meyer-Berkhout, that my Mother sent me when I first started this venture. Great resource!
Okay, on to the recipe baking!
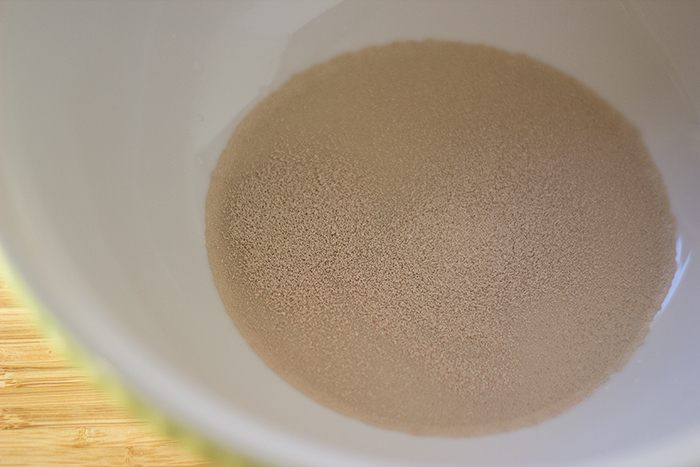
First we work with the yeast. I learned recently two things about working with this little microorganism that makes a difference:
1. It’s pretty important to proof your yeast before making a yeast bread so that you know your yeast is alive, or working. If you don’t, you might end up working with dough that will never rise and wasting time, effort and ingredients.
2. Yeast likes lukewarm water. Recipes often say to use warm water when proofing the yeast but the term can be subjective. Sometimes they give you a temperature range (usually around 100F or 40C) but unless you have a thermometer handy, that’s won’t mean much. Since I don’t have one yet and lukewarm is just a couple degrees above body temperature, I go by feel. You just want it to be slightly warm to the touch (a drop on the wrist works best for this). You do have a little wiggle room as it’s anything about 120F that’s will kill the yeast.
Okay, back to the baking. Add 1/4 cup lukewarm water and a teaspoon of sugar into a large bowl. Sprinkle one packet of active dry yeast into the water and let it sit for 8 – 10 minutes.
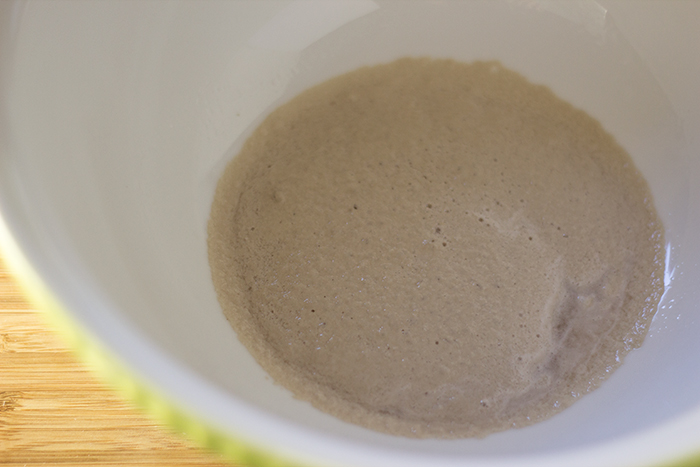
When it looks this, all foamy and has bubbles, it’s ready to go. Basically, it’s alive!
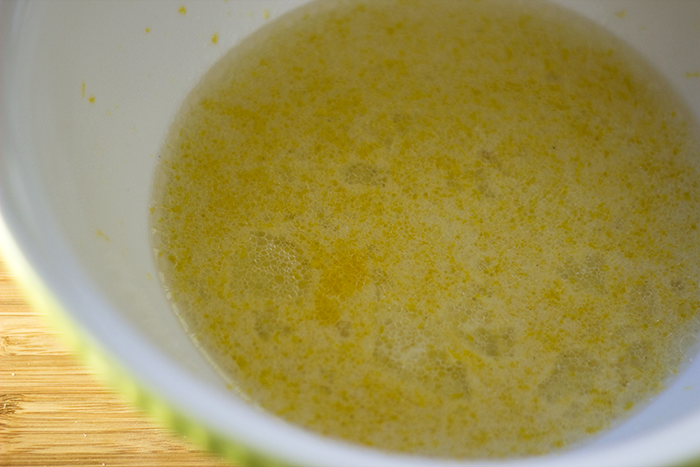
Next we add the milk, salt, lemon zest, vegetable oil (I used canola, so close enough), vanilla sugar and the rest of sugar. If you don’t have any vanilla sugar, you can just add a teaspoon of vanilla flavour with a teaspoon of sugar and add another teaspoon of sugar. Or, just omit it completely and use 2 teaspoons of sugar.
Mix together well and it should look like this yellow, oily liquid above.

Add two cups of flour and mix. Then just let it sit for 10 minutes.
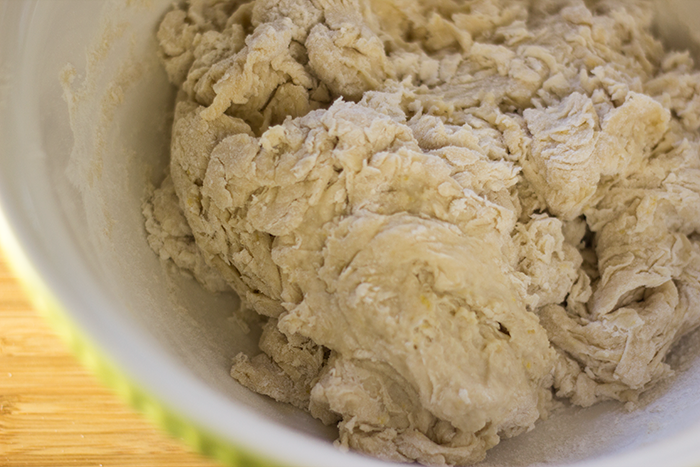
Now, we add enough flour to make it into a nice dough. I add 2 more cups. You can do this portion by feel, if you’re familiar with yeast dough. You just don’t want it to be too sticky.
I mix with a wooden spoon until it looks like the above picture. Then I use my hands to start making sure all the flour is incorporated.
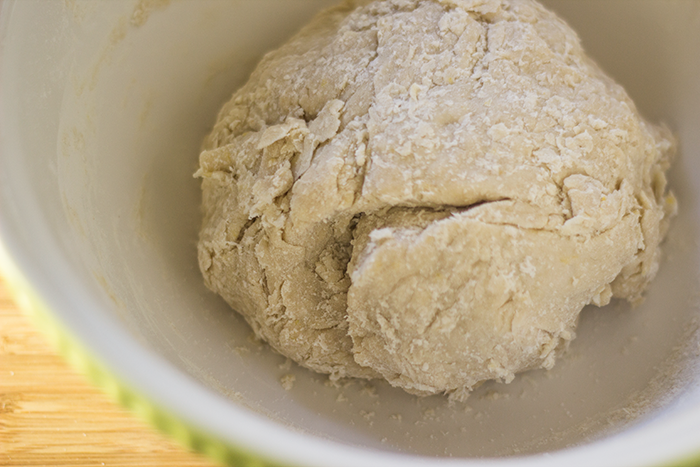
When it looks like a shaggy dough ball, I place it on a lightly floured surface and begin to kneed it for about 8 – 10 minutes. The actual kneading time depends on how long it took me to gather up all the flour into the dough ball. If it took me a few minutes, I reduce the kneading time a little. I don’t want it to get too tough.
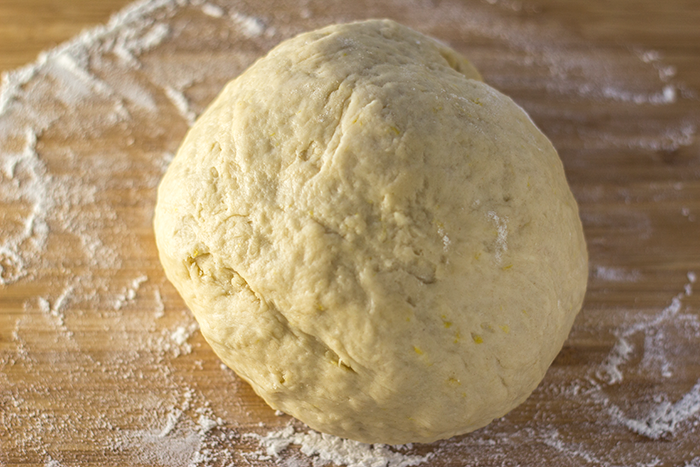
When the dough is smooth and elastic (meaning it wants to hold its shape), it’s time for the next step. Letting it rise!
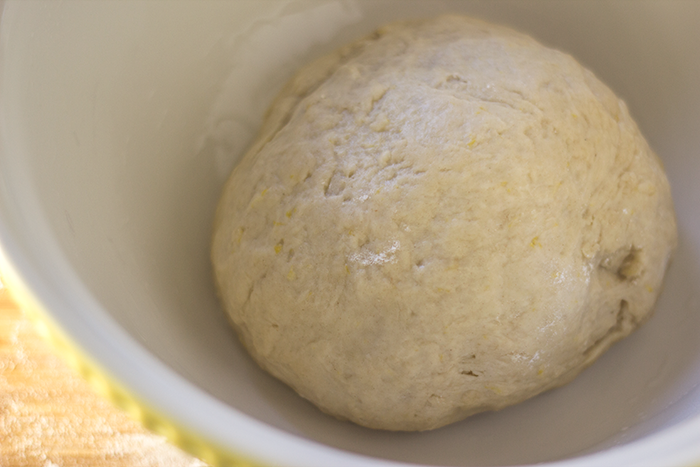
To get it ready to rise, take a large, clean bowl and grease it with some vegetable oil. Turn the dough ball a few times in the bowl to coat it with oil.
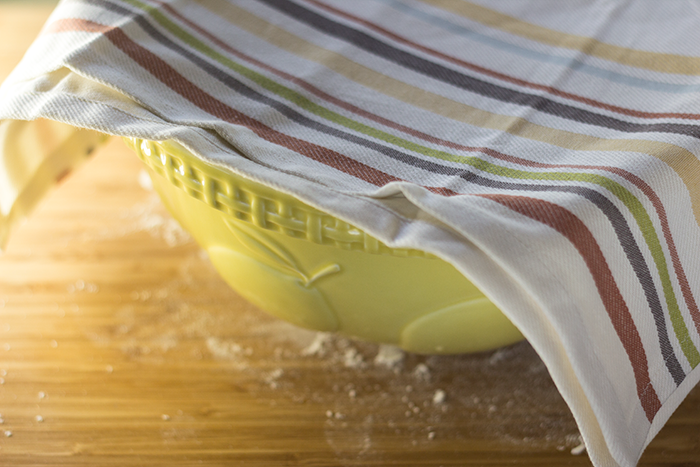
Cover (clean kitchen towel or some plastic wrap) and let it sit in a warm spot for 45 minutes or until it doubles in size.
How long it takes to rise depends on how warm your house/kitchen is. Since mine isn’t very warm, usually only around 68F, I put it in a warm oven. Specifically, I turn the oven on at the lowest setting (170F) and let it cool to about 100F – 110F (I do at least have an oven thermometer!). The bowl just sits in the closed oven for the 45 minutes.
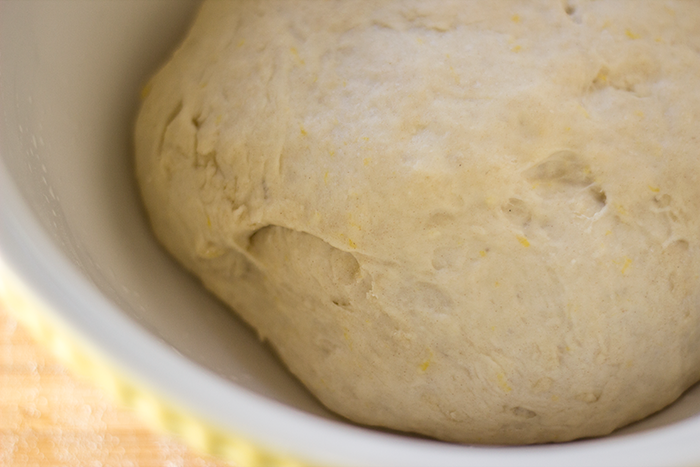
When the time has passed, it should look something like this. Mmm, and the kitchen smells like warm yeast, which I rather like.
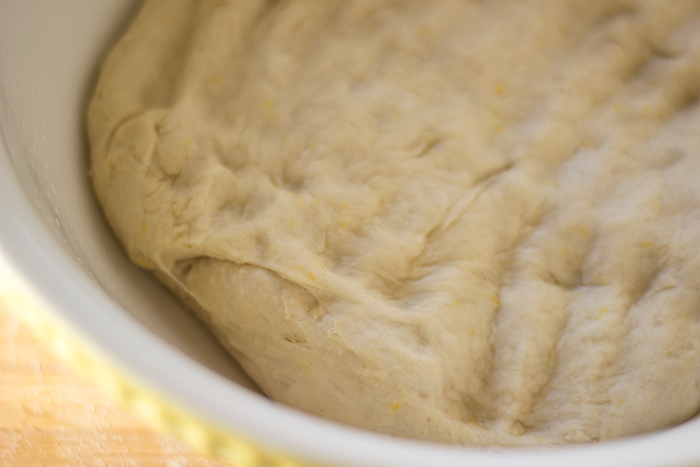
Next, punch the dough down. I haven’t perfected this yet but this seems to work!
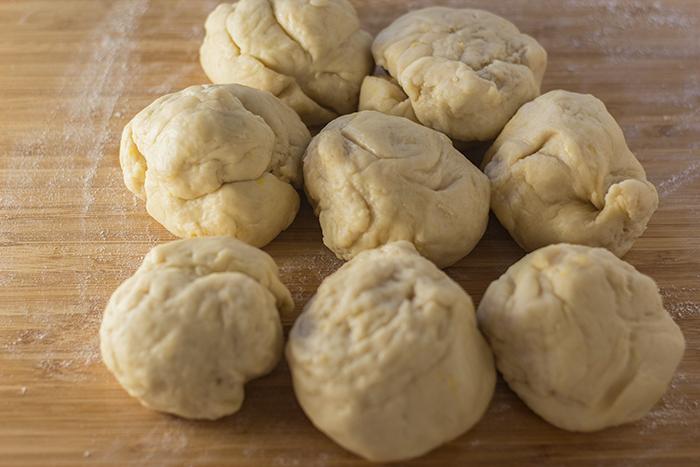
I now divide the dough into 8 pieces. You can do 6, if you want larger buns critters/people.
Now it’s up to you to decide what shapes you want to make with these dough pieces. You can make people, snowman shapes, animals or just round them out into a small bun shapes. Being the animal lover that I am, I always have to make a few creatures. I’m not fully experienced in working with this dough to make super awesome shapes, so they still look pretty rough. Don’t laugh, okay? The perfectionist and sculptor in me knows I can do better with more practice. Until then, they’ll look a rather fat and rough around the edges.
I will show you how I made two of the shapes and leave the rest to your imagination.
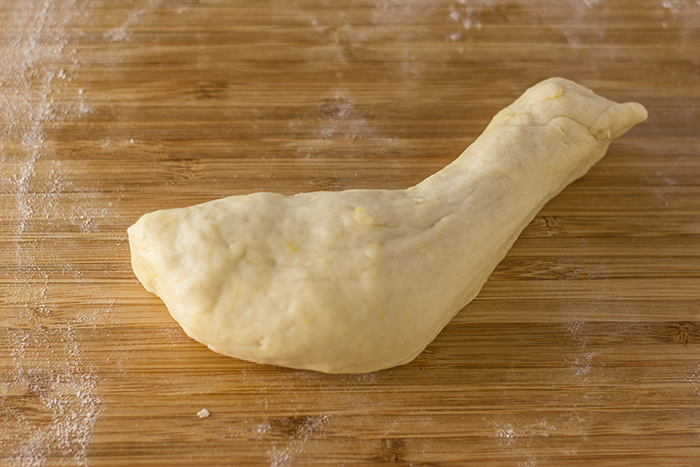
One dough ball I stretched out and shaped to look like a goose – fat body, long neck and small head.
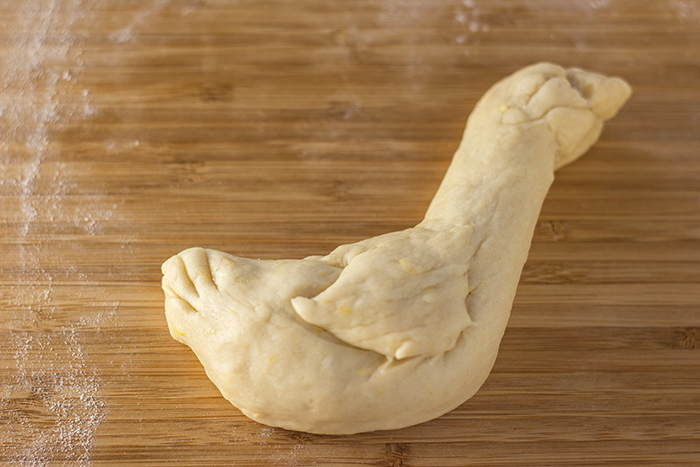
You can use a pair of kitchen shears or a sharp paring knife to cut in details, like the wing, tail, eye area and beak.
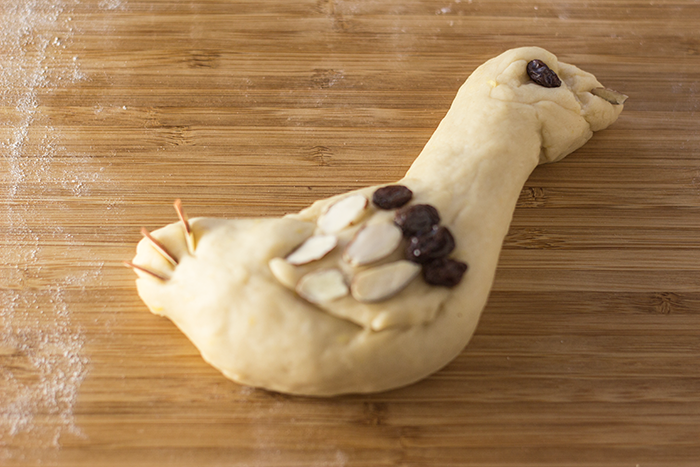
Raisins and almond slices were placed to fill out some of the details. It requires some pushing down to get them to stay. Though, I think in the future, I’ll dab a little water and then place the raisins, etc.
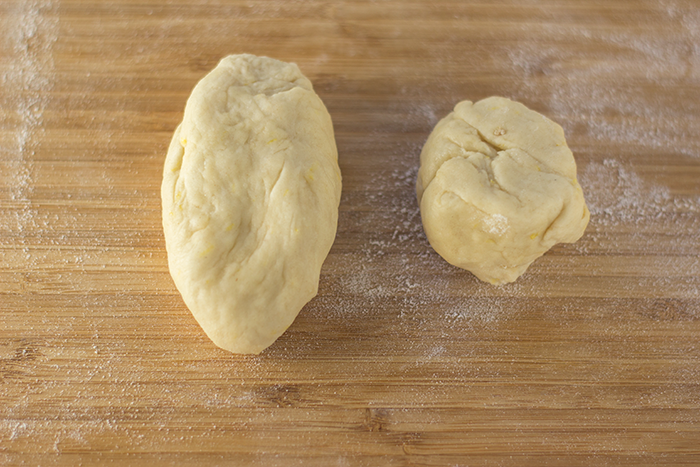
For a person shape, I pinch off 1/3 of a ball for the head. I like the big head look, apparently.
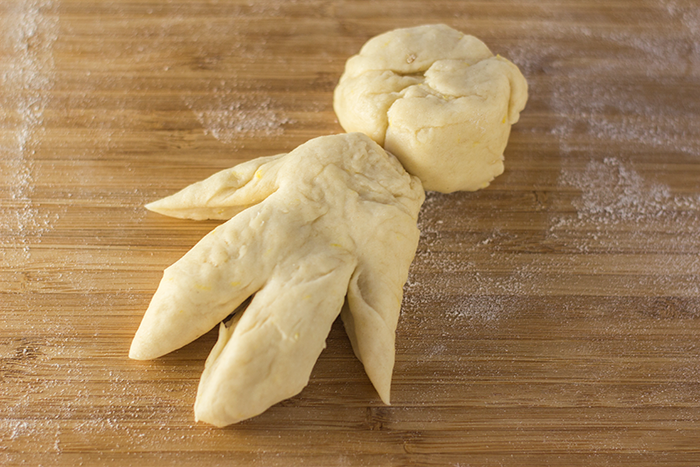
Using kitchen shears, I cut legs and arms into the larger piece. Then pressed the head ball onto the body.
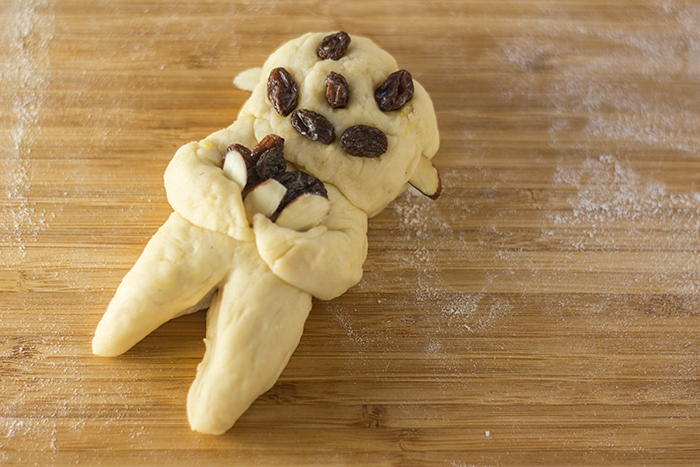
More raisins and almond slices to fill out the facial features and other details!
As you complete them, place them on a greased cookie sheet or one lined with parchment paper.
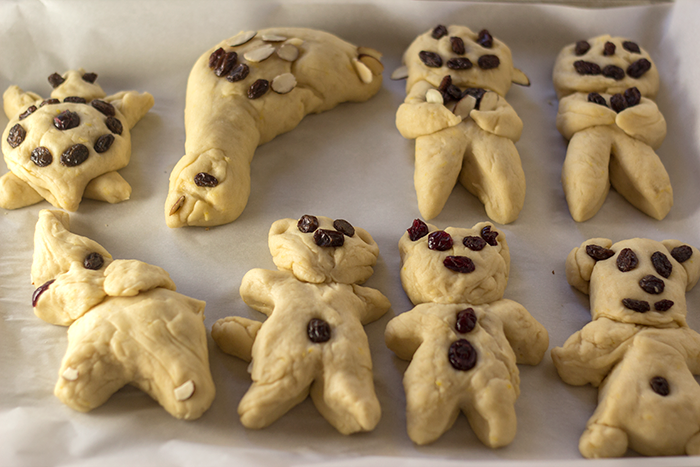
Here are my completed critters. Again, no laughing! Okay, some giggles are allowed. Oh, and the shape on the bottom left is supposed to be an elephant, not an alien, as was implied by a certain someone when he came home from work.
Okay, now cover the cookie sheet with that kitchen towel or plastic wrap again. Place in a spot free from drafts and let it rise, or fill out, for an additional 30 minutes. This is the last time we let it sit to expand. Promise.
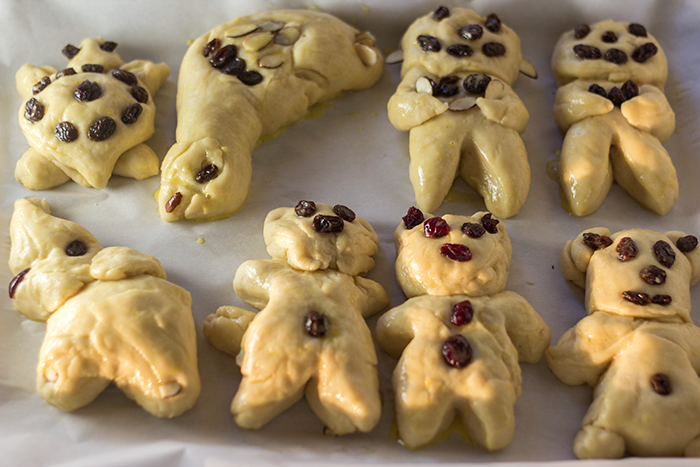
The last step before the oven. Lightly beat one egg and carefully brush the egg wash over your creations. You can also use milk for this step but I prefer the shine you get from using egg yolk.
Preheat the oven to 400F and bake for 25 minutes. When they are done they should be all nice, brown and have a slight crisp to the “shell”.
Let them cool on a rack before enjoying!
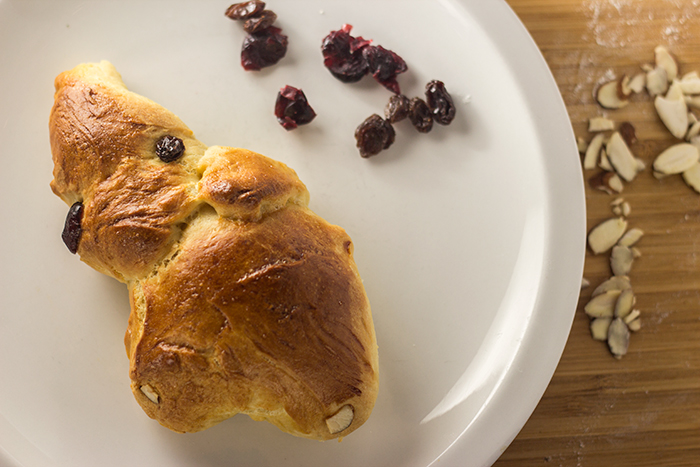
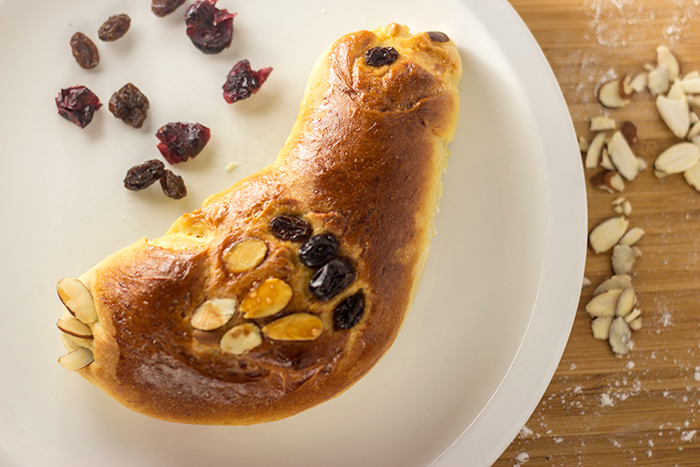
Here’s my wonky elephant and my fat-necked goose. I should have gotten another picture of the full cookie sheet when they were done baking but I didn’t.
They keep well in a storage container for a few days. Pop them in the microwave for 20 – 30 seconds to refresh them a little before eating and it will really bring out the lemon again!
Variations:
– If raisins aren’t your thing, you use dried cranberries, currants or pretty much any small pieces of dried fruit.
– Once baked you can dip them in semi-sweet chocolate or drizzle on a basic sugar glaze for some added deliciousness.
– If you really don’t want to bother with constructing forms, you can roll out the dough a bit and use gingerbread men cookie cutters. Just make sure they’re large shapes.
Hope you enjoy them. I would love to hear about if you already make these or how they turn out if you try recipe.
Mahlzeit!
<3,
Diony
Weckmänner (Stutenkerle) – Sweet Yeast Dough Buns
Ingredients
For yeast proofing
- 1/4 cup of lukewarm water 100 - 110F
- teaspoon for yeast proofing
- 1 package of active dry yeast 1 tablespoon
For rest of the dough
- 1/4 cup of sugar
- 1.5 - 2 teaspoons of homemade vanilla sugar
- 1 cup of milk
- 1 egg
- 5 tablespoons of vegetable oil or canola
- The zest of one large lemon
- 1/2 teaspoon of salt
- 4 cups of all purpose flour divided in half
For decoration
- 1 lightly beaten egg for coating
- Raisins
- Almond slices
Instructions
-
In a large bowl, dissolve 1 teaspoon of sugar in 1/4 cup of lukewarm water. Sprinkle in yeast and let it stand for 5 - 10 minutes, or until foamy. Stir in milk, egg, oil, lemon zest, vanilla sugar and the rest of the sugar (1/4 cup). Mix in 2 cups of flour and let it sit for 8 - 10 minutes.
-
Add the rest of the flour (2 cups) to make a nice, soft dough, adding more if needed. Put dough onto a lightly floured surface and knead for 8 - 10 minutes, or until smooth and elastic. Place dough into a clean, greased bowl, turning it to coat all sides. Cover it and let rise in a warm place, about 45 minutes or until doubled in size.
-
Punch down dough and then divide into 8 pieces. Shape into desired pieces (animals, snowmen, people, etc). Place on greased or parchment paper lined cookie sheet, leaving enough room for dough to expand. Insert raisins, almond slices, dried cranberries, etc, for details and facial features. Cover and let it sit for 30 minutes.
-
Preheat oven to 400F. Gently brush with egg wash or milk. Bake for 25 minutes. Remove from cookie sheets and cool on racks.
-
Makes 8 sweet yeast dough bread creatures.
Recipe Notes
- If raisins aren’t your thing, you use dried cranberries, currants or pretty much any small pieces of dried fruit.
- Once baked you can dip them in semi-sweet chocolate or drizzle on a basic sugar glaze for extra flavour or sweetness.
Adapted from The Best of German Cooking
I have never made these Weckmaennle and must one day try them…they look great! After reading the well described yeast part…I thought I should be able to make some bread from scratch, not bread-machine, since (like my mother) I never liked working with yeast…it gave me an incentive to do that in the future…thanks!