
Ich bin ein Berliner!
No, John F. Kennedy wasn’t actually saying he was a jelly doughnut but that phrase and the German pastry has become forever linked. It’s not really a bad thing because I’m sure that’s how many of you first heard about this delectable treat.
In Germany, they go by many names but the most popular are Berliner Pfannkuchen (or just Berliners) in Northern Germany, Krapfen (KRUP-fen) in Bavarian (Austria too) and Kreppel in Hessen.
A Bit of History
If you’re a lover of the jelly doughnut, like I am, we can thank the medieval Germans coming up with the basic version of sweet yeast dough filled with jam and deep fried in oil or fat. Though, some of what I’ve read says we might want to give thanks as far back as the Romans. Either way, the recipe was first documented in one of the earliest German cookbooks published in 1485. It was later translated and became popular in many parts of Europe, down into Israel and eventually, as we all know, over into North America (thank goodness).
Krapfen Season
While in some places you can get Krapfen year round now, they are most popular during Fasching or Karneval, which is like the German version of Mardi Gras. It’s called the fifth season because in some areas it can begin as early as November 11th. The season comes to a close on Ash Wednesday, which depending on when Easter lands, is usually sometime in February. For a week prior to the end there are lots of crazy parties, costumes and indulging. Basically, it’s about living it up before Lent.

Mini Krapfen Recipe
Adapted from Nicky and Oliver’s Mini Krapfen post over at Delicious Days.
In preparing for this post over the past few weeks, I was presented with several challenges. All of these ended up being valuable learning experiences and I’ve had to come to terms here that I’m not always going to get it right (or as right as I want it to be). Sometimes, I need to still write up the intended post, move on for now and come back to it later when I’ve gained more experience. Still, it has been kind of hard for me because I can be a bit of a perfectionist.
So, here’s my exercise in trying to let that go and embrace what my blog tagline says – It’s all about the learning process!
Oh, so what was I after that I didn’t get right? The white ring around the Krapfen!
First, these are the ingredients we’ll need:
- 3 cups of All Purpose Flour
- 3 1/2 teaspoons of Active Dry Yeast
- 1/4 cup of Vanilla Sugar with 1 tablespoon of it set aside to use first.
- 1 cup of Milk
- 7 tablespoons of Butter
- About a teaspoon of Orange or Lemon Zest (or to taste)
- A pinch of salt
- Oil for frying (or shortening, lard, etc)
- Jam of your choice
- Powdered or granulated sugar for topping
Let’s get started!

First thing we do is to sift the 3 cups of flour into a bowl. I’m using my KitchenAid mixing bowl, since that’s what I’ll be using to mix the dough a little later. Feel free to use any large bowl if you’re going to mix this by hand.

There. Flour all nicely sifted.
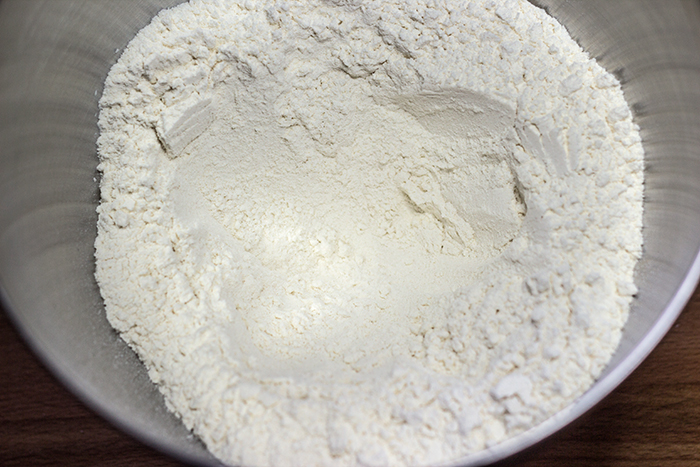
Make a well into the sifted flour.
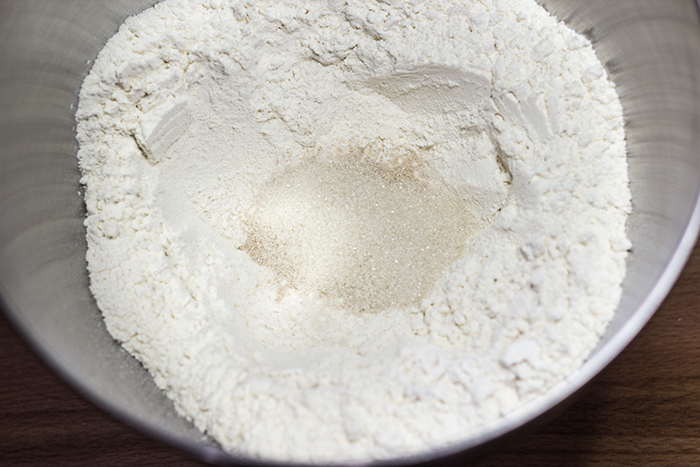
Add 3 1/2 teaspoons of active dry yeast and 1 tablespoon of vanilla sugar that we set aside.
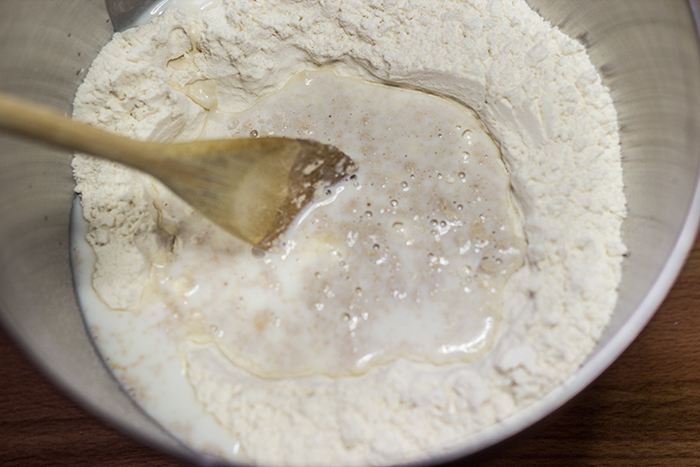
Heat 1 cup of milk to a lukewarm temperature.
There’s a lot of different information out there about how warm the liquid should be for the dry yeast to get the best activity. Some say between 80F – 90F, while other sources say as high as 120F to 130F. Typically, I go for this – if I put a dab on the inside of my wrist and I don’t feel much of a temperature difference, it’s good to go.
Give it a gentle stir or two. Cover with a clean kitchen towel and let it sit for 15 minutes.
The ideal temperature for yeast to make the dough rise is about 80F – 90F. This is great if you live warmer climes but most of us don’t keep our houses that warm, especially in the winter. For example, we keep the house around 68F. So, what I do (unless I want to wait longer) is this – put the oven on the lowest temperature it can go, which is 170F for ours, leave it on for a couple of minutes and then turn it off. I then place the cover bowl into the oven and let it rest for the allotted time in the warmer environment.
Here’s some more information on Oven Rising Dough, if you want it!
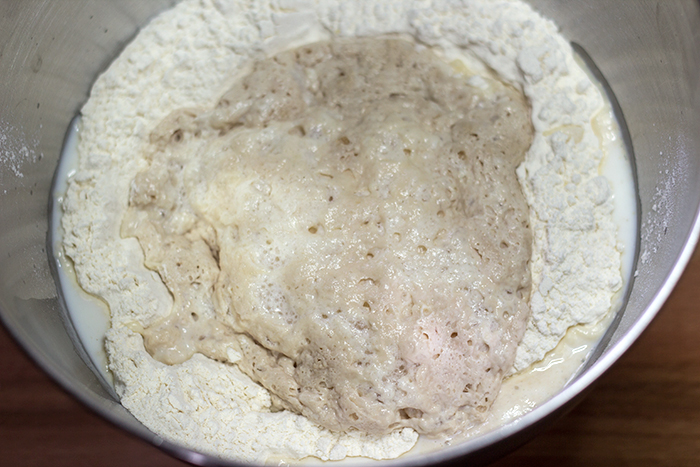
After 15 minutes, it should started to bubble a bit and look something like this.
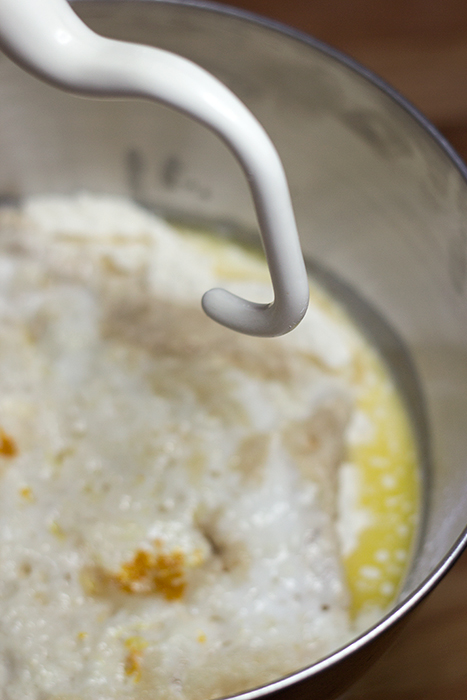
Put the rest of the ingredients into the bowl.
- Remaining vanilla sugar
- The zest (I used orange zest because the flavour pairs well with the apricot jam I’ll be using later)
- Lukewarm butter
- Pinch of salt
If you’re using a stand mixer, attached the dough hook and mix on a low setting until no dry flour remains. Tacky dough is okay but if it’s too sticky, you can add a wee bit more flour.
Be careful not to add too much as it can toughen up the doughnuts. This I know from experience in one of my first attempts!
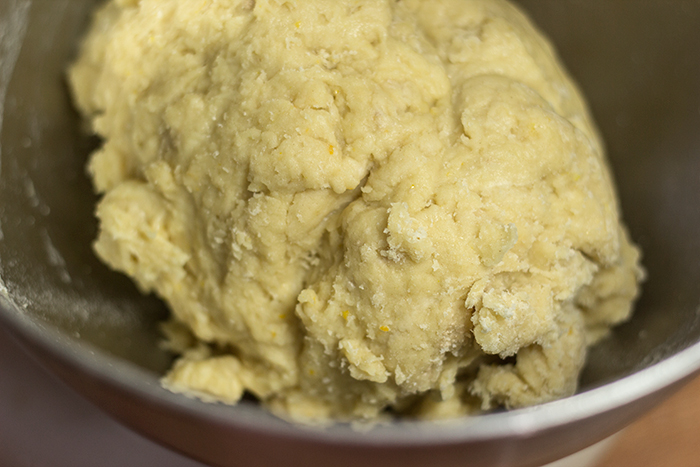
Should look a little something like this.
Now, cover the bowl again and let it rise for 30 minutes or until it’s about double in size.
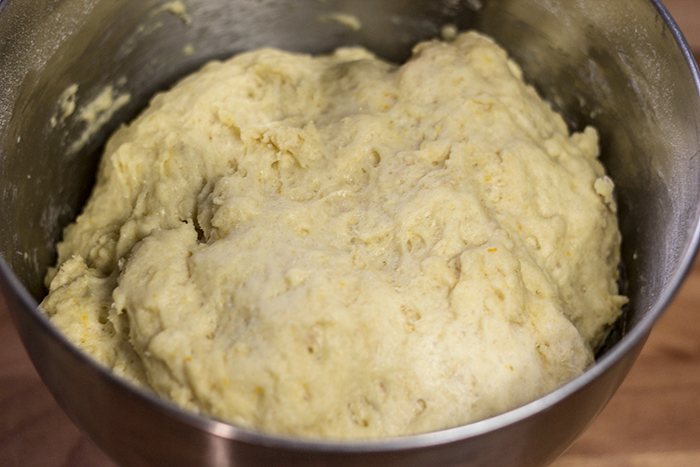
Kind of like this. Puffy!
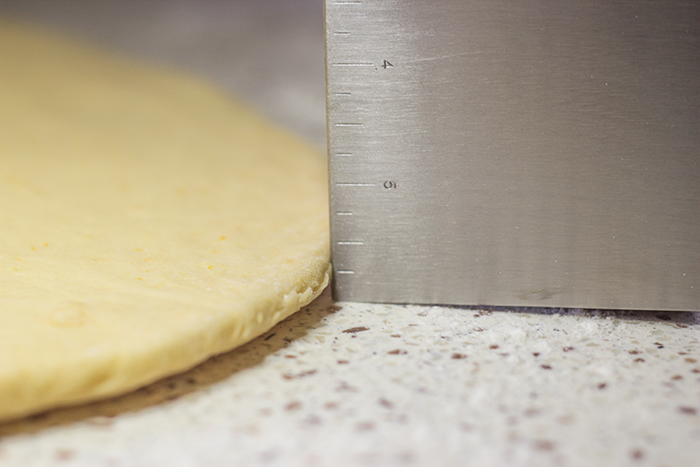
Gently roll out the dough on a floured surface until it’s about a half inch thick. Love this new dough scraper.
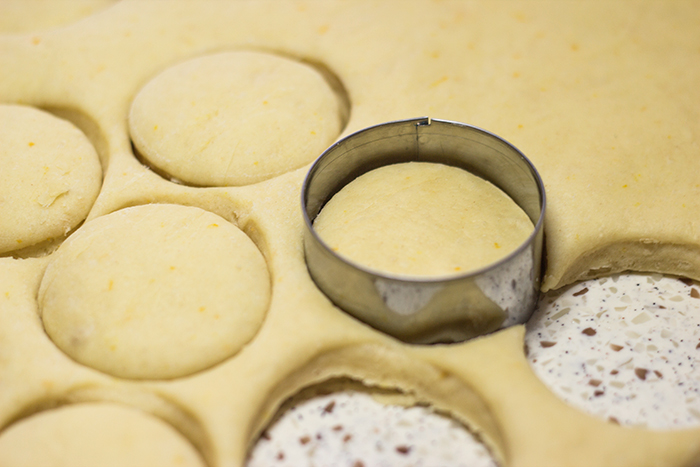
I used a 2″ round cookie cutter to gently punch out the shape. If you don’t have one, no worries. Just use the smallest diameter drinking glass you have but dip it in flour first.
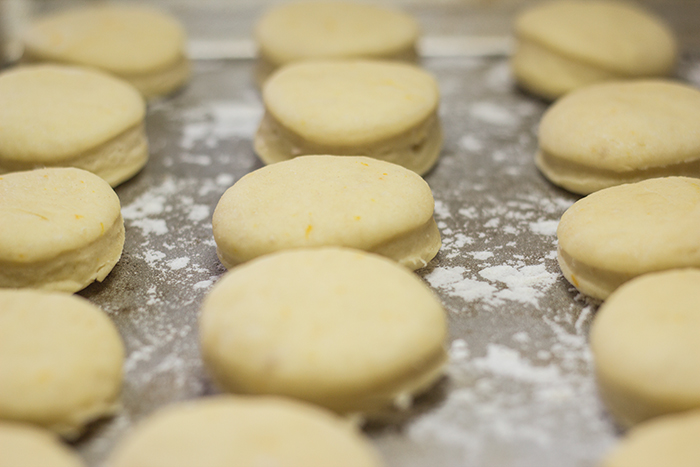
Place the doughnut rounds on a floured surface (like a baking mat or cookie sheet), cover well and set aside to rest.
I’ll admit that this next section could have used some more photos. Though, it’s also the part that gave me the most difficulties…

Here’s what I was trying to do:
Put about 2″ of oil (I used canola), shortening or lard in a heavy bottomed pot or pan with a lid and heat to 350F. Once the oil is hot enough, carefully drop in 4 – 5 doughnuts and close the lid. Let them fry until they’re golden brown underneath – around 1 – 2 minutes. Only flip once to fry the other side. Place on a paper toweled surface (cooling racks are great for this) to absorb some of the extra oil and to cool.
Now, getting a consistent temperature for me seemed to be quite difficult that I’m wondering if it has to do with having an electric stove top. I tried a stainless steel pot and a heavy, copper bottomed pan and got the same results – would not stay steady at 350F. I also tried 2 different types of thermometers – glass with mercury and digital. I think I just had bad luck with the glass once because it was broken but I’ve read that this happens can easily happen with glass candy/deep fryer thermometers, so I’m reluctant to try another one. With the digital, it was a problem of having to hold it for a very long time until it reached to the temperature. Even though it was rated to work as a candy/deep fryer thermometer, it ended up also breaking (the top part basically melted) when I left it leaning against the side of the pot while it was trying to get a steady read and continue working on other things.
What I ended up doing was frying dough scraps and adjusting the temperature until I get a desired colour and constancy – golden brown and done in the middle.

No white ring! Sad face.
Once they are cool enough to touch, pipe jam of your choice into the little doughnuts. I used apricot, as it’s a little more traditional. Rosehip is another classic option. However, use whatever you like best!
Piping the jam was the next lesson I learned the hard way. Homemade parchment paper piping bags (say that 3 times fast…) did not work well for me, even though I made holes in the sides of the doughnuts first with a small paring knife. Wish I had taken a picture at how I got jam on everything (counter, floor, kitchen mat and me… I’m obviously a pro at making messes) except inside of the doughnut. Getting a jam filler/injecter/syringe for this next time. Something like this, I think.
To finish them up, sift powdered sugar over top when cooled or press lightly into granulated sugar while still a little warm.

So, here we have the final results.
Did they taste good? Yes, absolutely!
Do they look perfect? No. A little too dense and, again, no white ring. (I know, I know, last time I’m mentioning that in this post.)
However, I know that the taste part is way more important. I’ll achieve the elusive white ring in the future (oops, I lied). You can probably expect another Krapfen post from me in the future. Though, perhaps not until next year when krapfen season comes around again and definitely with some equipment improvements.
The last aside:
I also tried baking instead deep frying because I was hoping for a healthier version and something easier. I learned that there’s just no way around it – fried dough is awesome. If it’s baked, we end up with a sweet tasting dinner roll. Not a bad thing, as it’s quite yummy, but it’s just not a doughnut.
If you want to try baking them, it’s just 7 – 10 minutes at 400F or until they start to become golden brown on top.

Feel free to regale me with your experiences with Krapfen – how you make them, your learning experiences or what kind you like best!
Diony
Mini Krapfen (Mini Berliners)
Ingredients
- 3 cups of all purpose flour
- 3 1/2 teaspoons of active dry yeast
- 1/4 cup of vanilla sugar with 1 tablespoon of it set aside to use first.
- 1 cup of lukewarm milk
- 7 tablespoons of melted lukewarm butter
- About a teaspoon of orange or lemon zest or to taste
- A pinch of salt
- Oil for frying or shortening, lard, etc
- Jam of your choice
- Powdered or granulated sugar for topping
Instructions
-
Sift flour into bowl and make a well in the middle. Add yeast and 1 tablespoon of the vanilla sugar. Pour in lukewarm milk and stir gently. Cover with towel and set aside for 15 minutes in a warm area.
-
Add rest of the sugar, melted butter, zest and pinch of salt. Stir, or mix, until no dry flour is left but dough is still tacky. Cover with towel and set aside for 30 minutes in a warm area.
-
Gently roll out dough on a floured surface until about half an inch thick. Cut out round shapes with cookie cutter or the rim of a small drinking glass. Set dough rounds on a floured surface, cover with towel and let rest them.
-
Heat 2" of oil to 350F degrees in a heavy bottom pot or pan with lid. Gently place 4 - 5 dough rounds in hot oil and cover. Fry for about 1 - 2 minutes or until golden brown on one side. Flip over only once to fry other side. Place on paper towels to absorb the extra oil.
-
When doughnuts have cooled, pipe in the jam of your choice. You can poke a hole with a skewer, chopstick or small pairing knife to make it easier.
-
Finish doughnuts with powdered or granulated sugar.
-
Best eaten fresh!
Recipe Notes
If dough is sticky, add only a small amount of more flour. Too much flour will make the doughnuts tough or harder.
Adapted from Delicious Days
Leave a Reply